

SSO is in early access. Contact support@niteshift.dev to enable it for your organization.
Before you start
- You’re an admin of the Niteshift organization. Only admins see SSO setup.
- You can add a DNS TXT record for your company domain, or work with someone who can.
- You can create an application in your identity provider, or work with someone who can.
Set up SSO
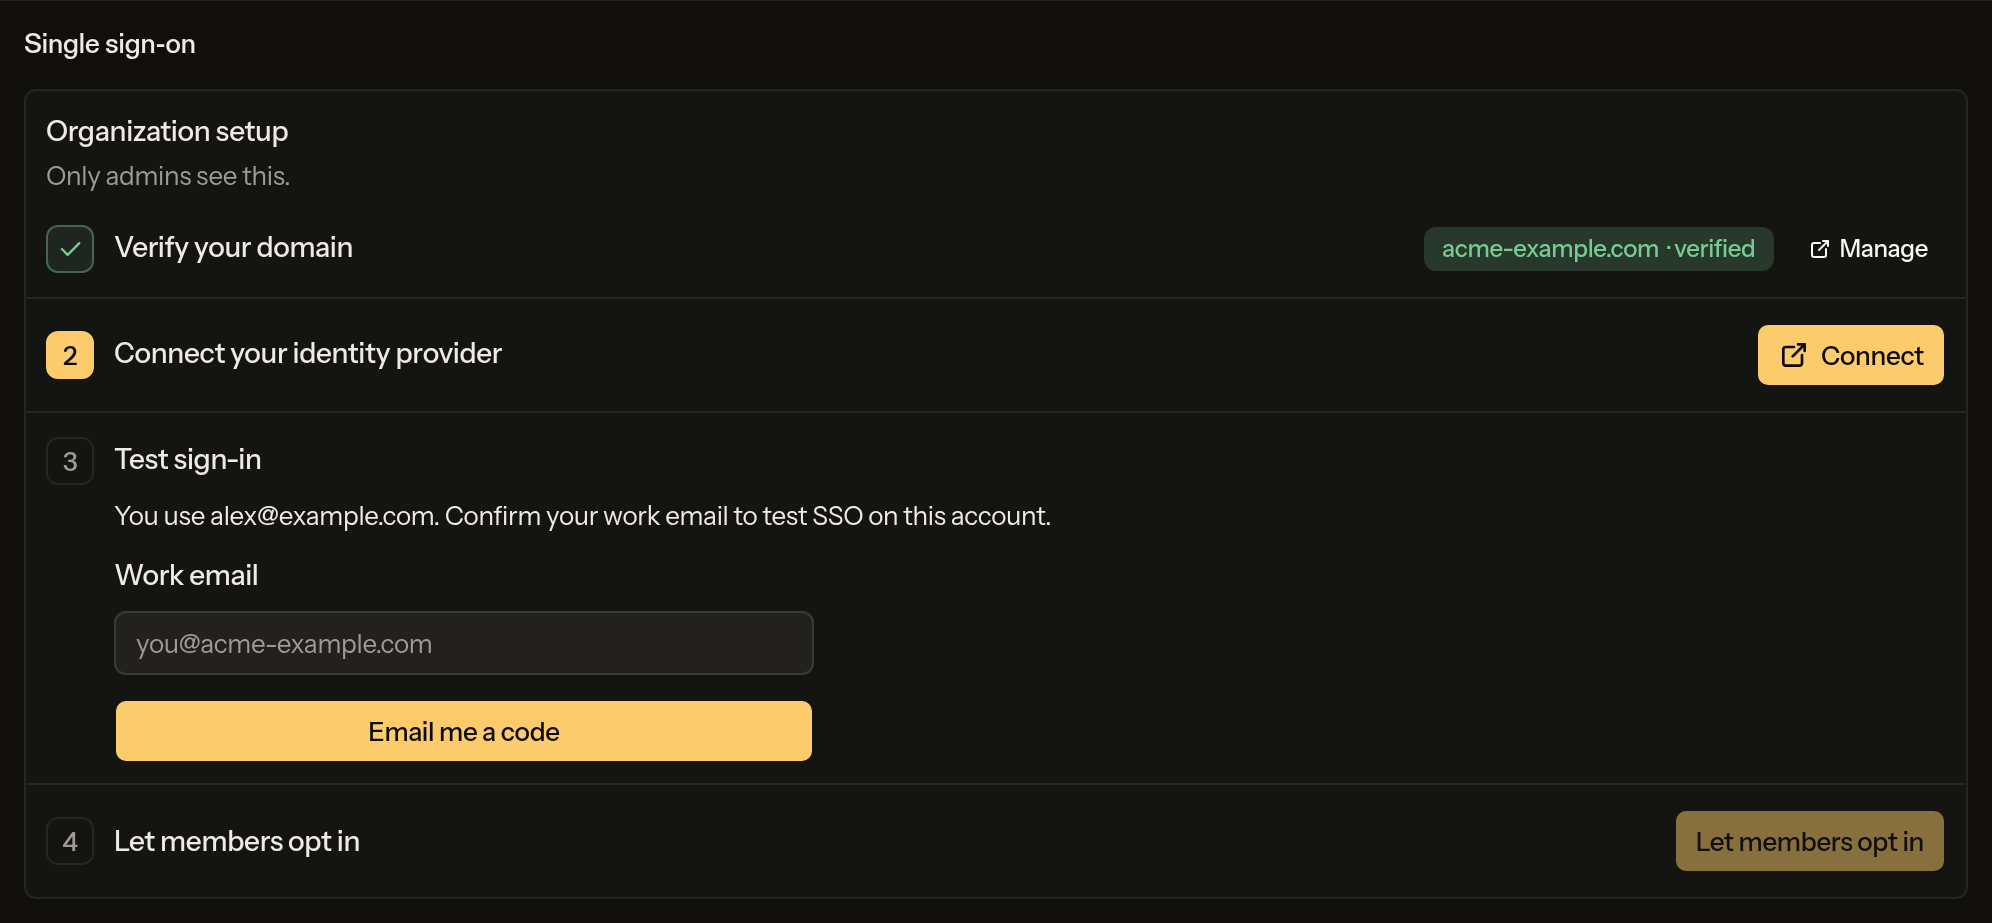
1
Verify your domain
Click Verify domain. A setup portal opens and walks you through adding a DNS TXT record. Once the record is confirmed, return to Single sign-on in Niteshift. The domain shows as verified.
2
Connect your identity provider
Click Connect and choose your provider in the setup portal. It gives provider-specific instructions for SAML and OIDC, including the values to copy into your identity provider.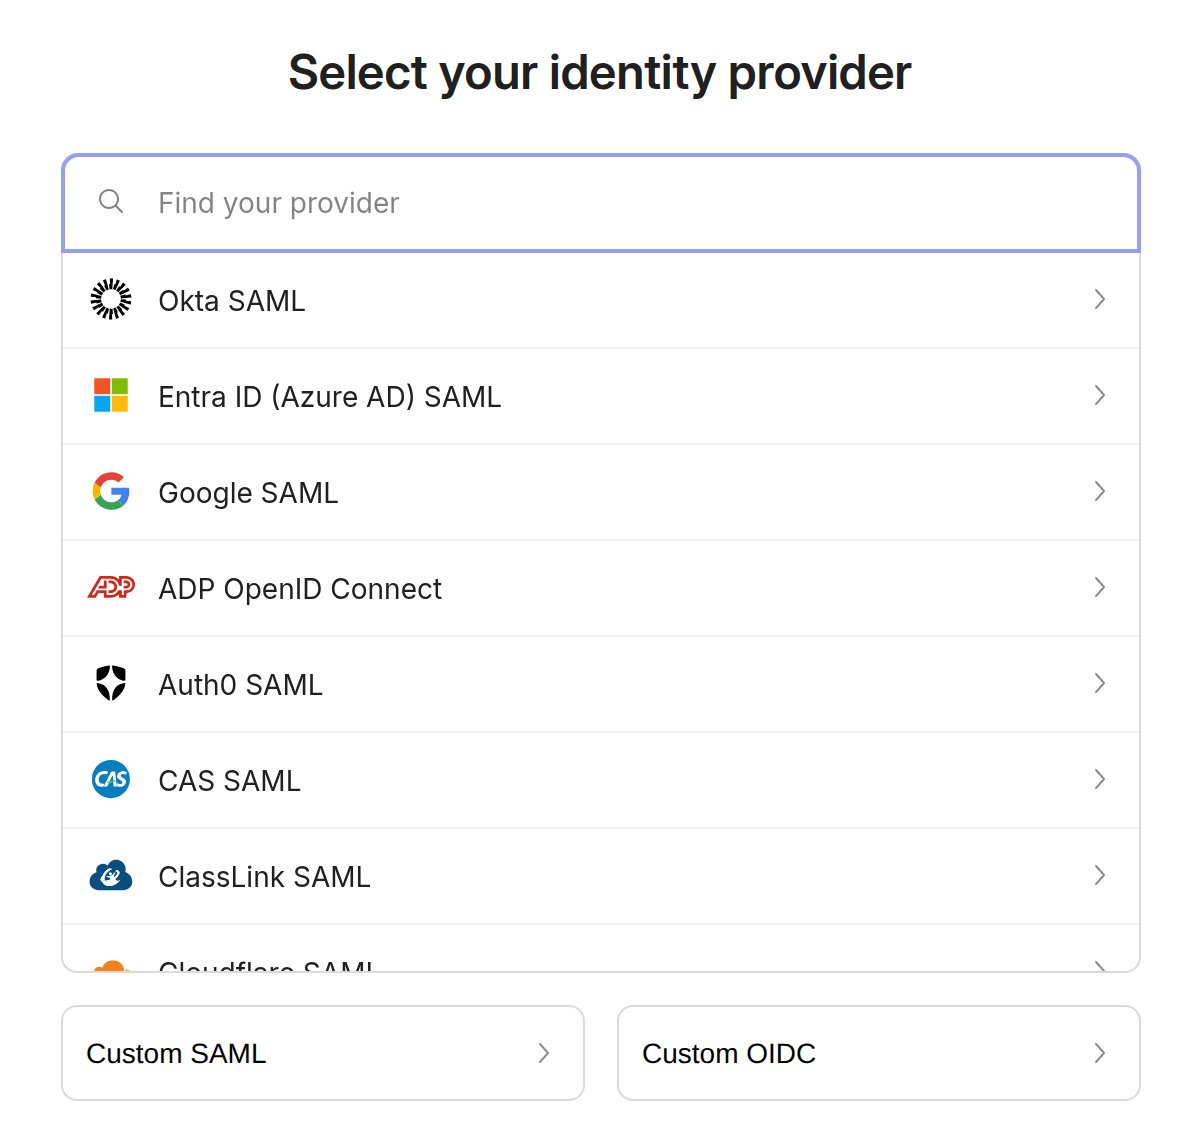
3
Test sign-in
Click Sign in with SSO and sign in through your identity provider. This step completes only after your own SSO sign-in succeeds.If your Niteshift account is attached to an email outside the verified domain (a personal address, for example), enter your Work email and click Email me a code. Confirm the code, then sign in with SSO. Your work email attaches to your existing Niteshift account, so you don’t end up with a second account.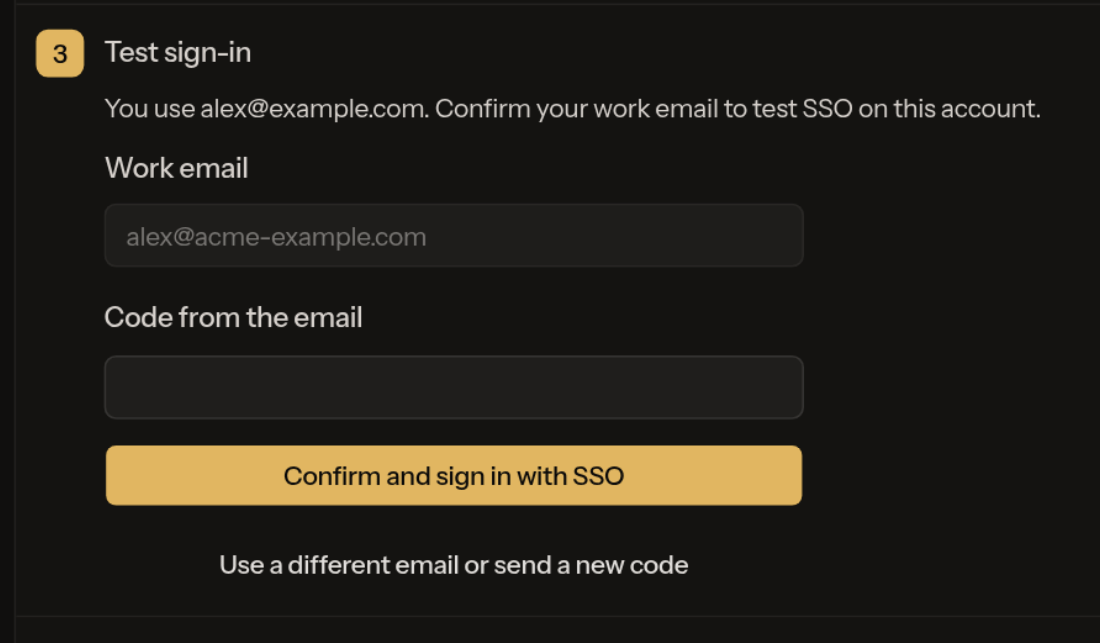
4
Let members opt in
Click Let members opt in. Members can switch from Settings › Connections whenever they’re ready.
5
Require SSO
When everyone is ready, click Require SSO. The button stays disabled until the connection is active on a verified domain, every member is set up for SSO, and you have signed in with SSO.